Microsoft Windows
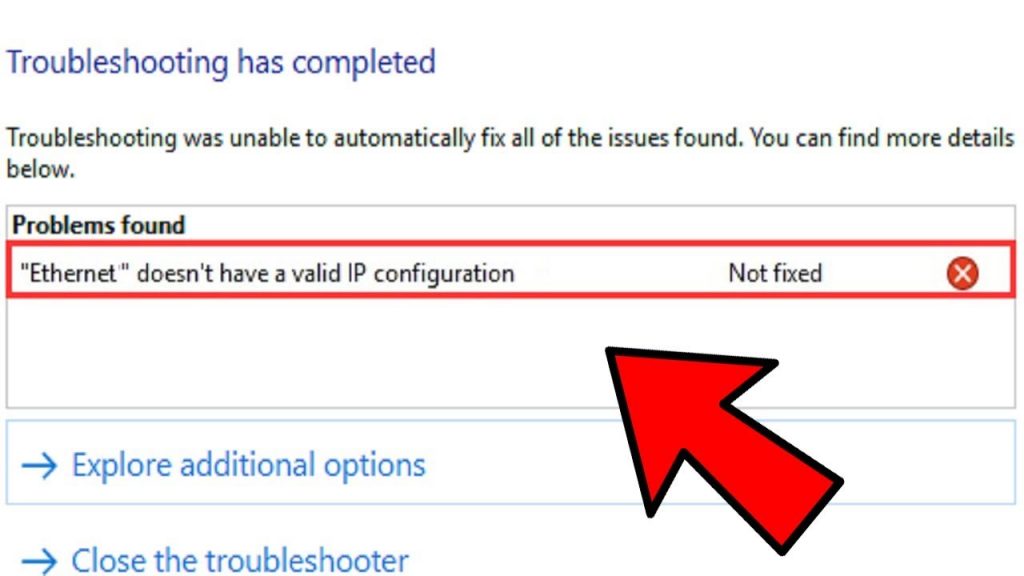
Ethernet doesn’t have a valid IP configuration
Mar
Ethernet doesn’t have a valid ip configuration
Your computer uses an IP (Internet Protocol) address to connect to the Internet. This is an address that identifies a device on a network. It is used to communicate with other devices or the Internet.
Whenever you get the error “Ethernet does not have a valid IP configuration” it’s because your ethernet connection is not receiving a valid IP address from the DHCP (Dynamic Host Configuration Protocol). This is a network protocol that enables servers to automatically assign an IP address to your computer for a specific network. As a result, the computer cannot be assigned a valid IP address, meaning it’s not able to connect to a network and the Internet.
This error can be caused by a myriad of reasons, from faulty network adapter drivers to incorrect network configuration. In this guide, we will walk you through various fixes that will help you fix the error “Ethernet does not have a valid IP configuration”.
Fix #1. Restart your Modem, Router, and Computer.
Sometimes this frustrating issue can be fixed with a restart to the affected hardware. Start by saving all your progress and work, then shut down your computer:
- Open the Start menu by clicking on the Windows icon in your taskbar.
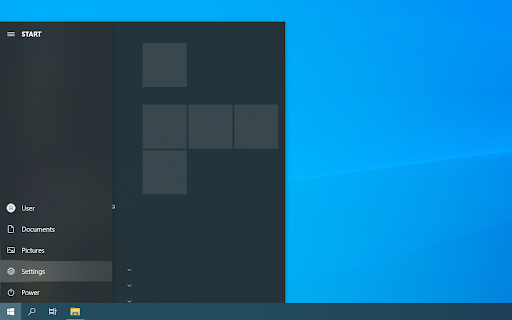
- Click on the Power icon, and then click on the Restart option. This will automatically shut down your device and power it back up without any manual input required.Unplug the router or modem device, and then leave it unplugged for a couple of minutes. It’s recommended to wait at least 2-5 minutes to ensure a proper restart.
- Plug it back in and wait for it to start up. The LED lights should indicate when the device is powered back on and ready for operation.
- Check if the Ethernet does not have a valid IP configuration error has been fixed. Make sure to check the ethernet cable you are using. Try testing the connection using another cable.
That’s it. You’re done!
Fix #2: Disable the Fast Startup feature
You can also disable the Fast Startup feature to possibly fix the Ethernet does not have a valid IP configuration error. This is a feature that comes by default in most Windows 10 computers and allows for faster recovery from hibernation or shut down, meaning your computer will boot up faster. To turn off this feature, follow these steps:
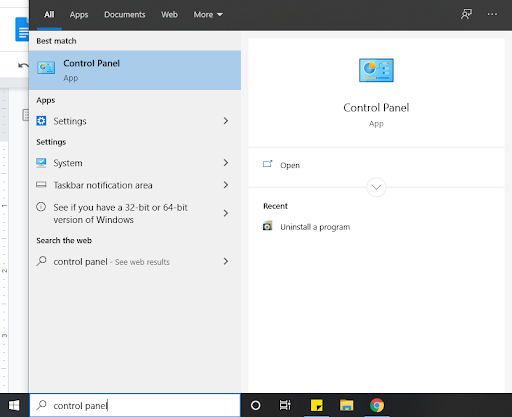
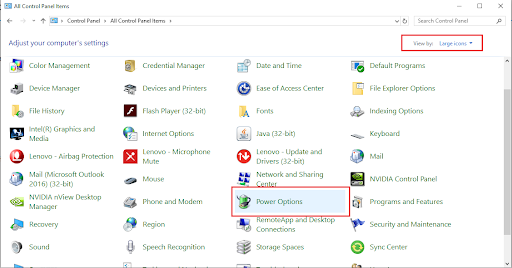
- Go to your search bar at the bottom right and type in “control panel“. You can also bring up the searching feature by using the Windows + S keyboard shortcut. Click on the Control Panel app to launch it.
- Set the view mode to either small or large icons to show all of the Control Panel items, and then click on Power Options.
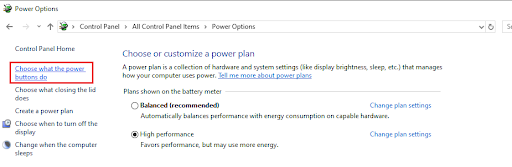
- Click on the Choose what the power buttons do link on the left side of the window.
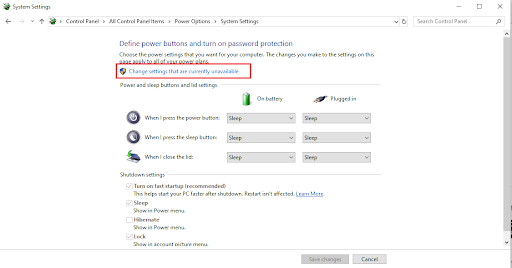
- Click on the Change settings that are currently unavailable link. This may require you to enter an administrator password.
- Uncheck the box Turn on fast startup (recommended) option under Shutdown settings in order to turn the feature off and click on Save changes. This is going to disable the Fast Startup feature, potentially solving issues with your Ethernet connection.
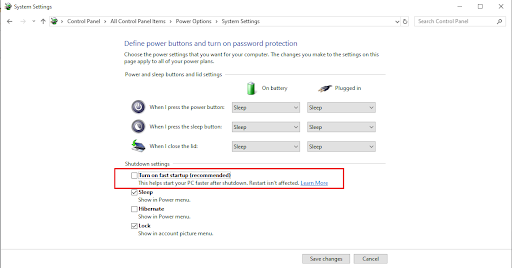
- Click on the Save changes button, and then restart your computer. After restarting, check if the issue persists.
Fix #3. Configure your network adapter settings.
Your router automatically designates each device connected to it an IP address by default, though you can configure this setting to only assign one static IP address. It’s recommended to try whether this works for you in order to fix the Ethernet does not have a valid IP configuration error. Let us walk you through the steps.
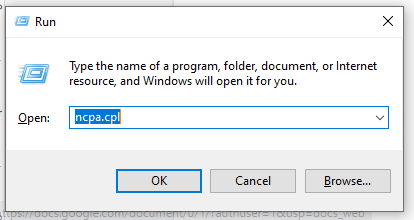
- Press the Windows key + R to bring up the Run feature. Enter ncpa.cpl and click on OK. This will open up the Network Connections window.
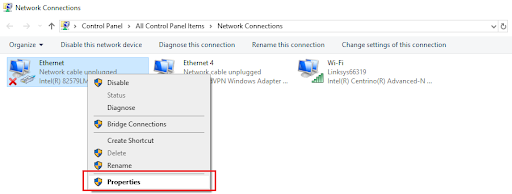
- Right-click on the Ethernet adapter settings and choose Properties.
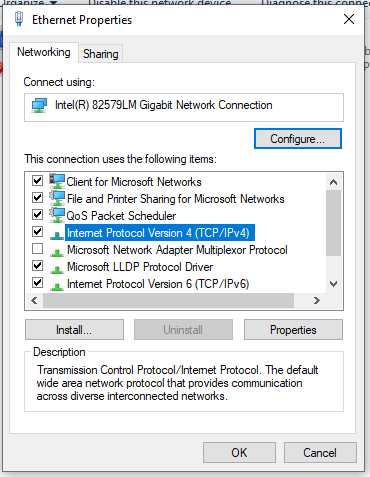
- In the Ethernet Properties dialog box, look for Internet Protocol Version 4 (TCP/IPv4) and double click on it.
- This will bring up the Internet Protocol Version 4 (TCP/IPv4) Properties. There you will need to enable the following options:
- Obtain an IP address automatically
- Obtain DNS server address automatically
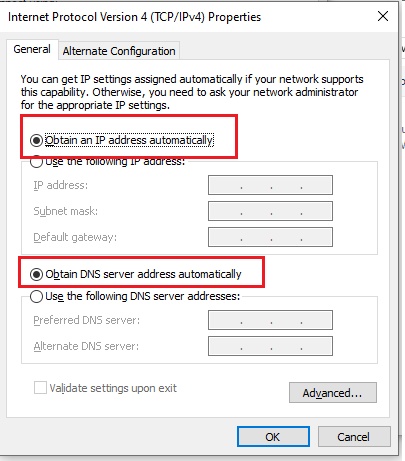
- If this does not fix the issue, you can set your IP address and DNS manually. To do that, follow these steps:
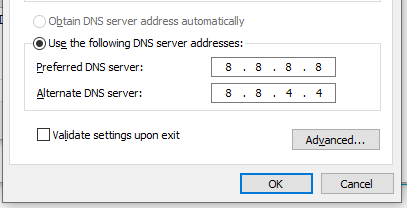
- Follow the previous steps, and on the Internet Protocol Version, 4 (TCP/IPv4) Properties choose and edit the following options. Use the following IP address and fill in the details with these numbers.
- IP address: 192.168.1.15
- Subnet mask: 255.255.255.0
- Default gateway 192.168.1.1

- Next, use the following DNS server addresses and fill the details with these numbers:
- Preferred DNS Server: 8.8.8.8
- Alternate DNS Server: 8.8.4.4
- Follow the previous steps, and on the Internet Protocol Version, 4 (TCP/IPv4) Properties choose and edit the following options. Use the following IP address and fill in the details with these numbers.
Once you are done, click on OK to save the changes. Bear in mind that these are Google’s DNS settings.
Fix #4. Reset TCP/IP.
This method requires using Command Prompt and using the netsh Command. It allows you to display or modify the network configuration of a computer. Let’s take a look at how to apply this fix.
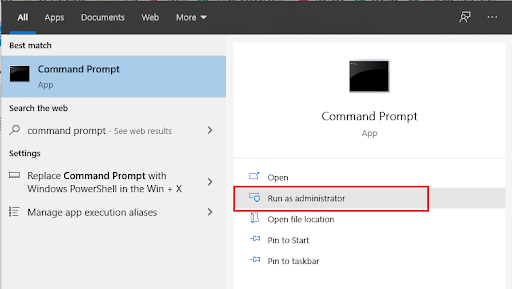
- Type in Command Prompt on the search area at the bottom left of the screen. Alternatively, you can press the Windows key + S to prompt the search bar.
- Then righ-click on Run as Administrator to open up Elevated Command Prompt. You can also right-click on the Command Prompt icon and select Run as Administrator. Once it asks you for permission, click on OK.
- If prompted by the UAC (User Account Control) click Yes to allow the application to make changes to your device. This is necessary in order to launch the software.
- On Elevated Command Prompt, type in the following commands (Press the Enter key after each command to execute them):
- netsh Winsock
- reset netsh int IP reset
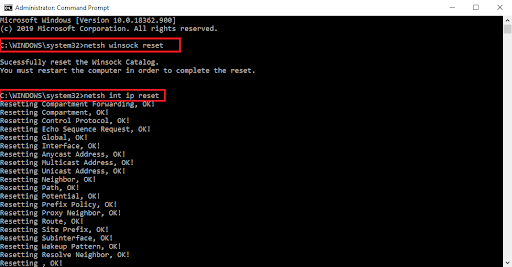
- When you run the first command, you will get a message asking you to restart the computer. For now, you can ignore it and run the second Command.
- Once both commands have successfully been executed, restart the computer and see if you still get the Ethernet doesn’t have a valid IP configuration error.
Fix #5. Clear the network cache.
This method involves using the ipconfig command in Elevated Command Prompt. This command displays the current configuration of the installed IP stack. Using it allows you to reset the contents of the DNS client resolver cache and renew the DHCP configuration.
- Type in Command Prompt on the search bar at the bottom left of the screen. Alternatively, you can press the Windows key + S to prompt the search bar. Then click on Run as Administrator to open up Elevated Command Prompt. You can also right-click on the Command Prompt icon and select Run as Administrator. Once it asks you for permission, click on OK.
- On Elevated Command Prompt, type in the following commands:
- ipconfig /release
- ipconfig /flushdns
- ipconfig /renew
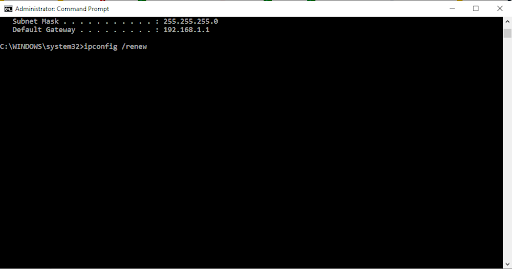
- Once you have entered the commands, restart the computer and see if the error has been fixed.
Fix #6. Reinstall/Update your Network Adapter Driver.
You can reinstall or update your network adapter driver by using the Device Manager. This can help with the Ethernet doesn’t have a valid IP configuration error. Let’s dive into it:
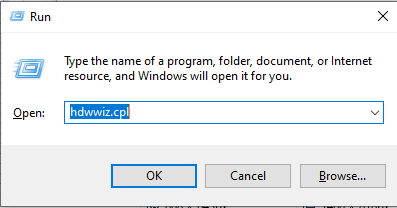
- Type in Device Manager on the search bar at the bottom left of the screen. Alternatively, you can press the Windows key + S to prompt the search bar. You can also press the Windows key + R and type in hdwwiz.cpl in the input field and click on OK.
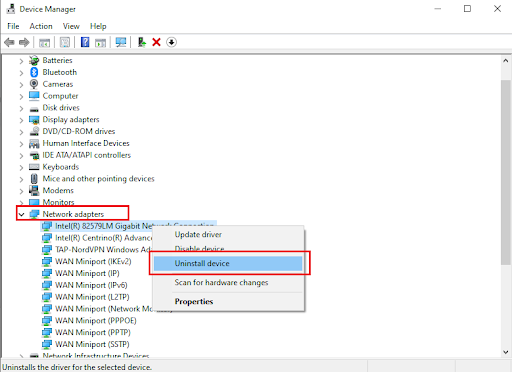
- This will bring up the Device Manager and you will see a list of the devices that are connected to your computer. Look for Network Adapters, expand it and right-click on the device and choose Uninstall device.
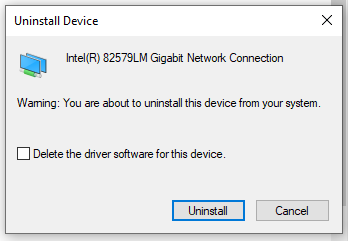
- You will get a confirmation dialog box, click on Uninstall. Check the box Delete the driver software for this device if you see it.
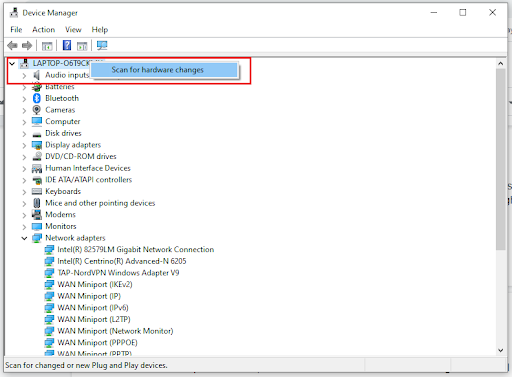
- Restart your PC and check if the issue still exists. If Windows does not install the uninstalled drivers automatically, then go back to Device Manager, right-click on your computer’s name, and select Scan for hardware changes. This will detect missing drivers and install them.
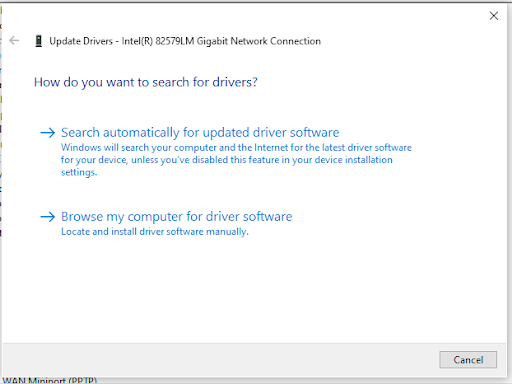
In order to update the drivers, follow the same steps but select Update drivers instead of Uninstall drivers (Step 2).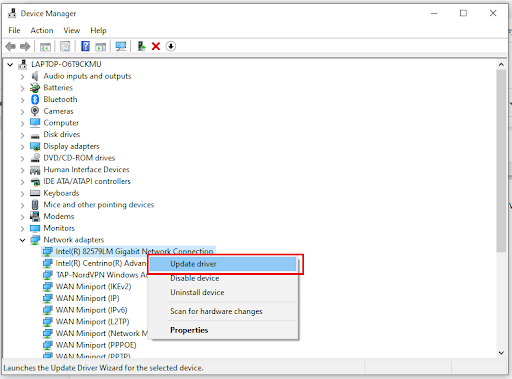
You will be prompted with a window asking if you want to search for updated driver software automatically or to browse your computer for driver software. Selecting the first option will search your computer and the Internet for the latest driver software for the device selected. If you select the second option, you must locate and install the drivers manually. Using this option requires having previously downloaded the driver. If the first option does not solve the problem, download the latest network adapter drivers from the manufacturer’s website.